

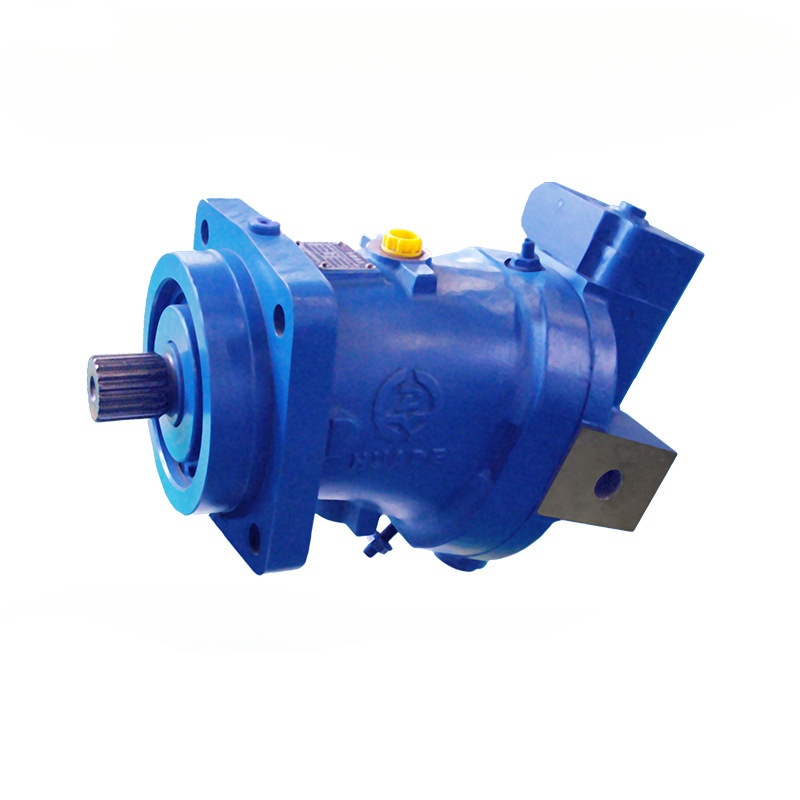



You walk out to the machine and see that telltale puddle of hydraulic oil right under the drive shaft. It’s a sinking feeling, I know. But before you panic and order a brand-new motor, let’s talk about the shaft seal.
Replacing a seal on an axial piston motor is a job you can definitely handle, but it’s also a job where "good enough" usually ends in a second leak a week later. I’ve seen enough "re-repairs" to know that the secret isn't just in the wrenching—it’s in the preparation.
Here is how to get it done right the first time.
The "Million Dollar" Question: Why did it leak?
Before you pull the motor, we need to play detective. A shaft seal is basically a fuse for your hydraulic system. If your motor is worn out internally, pressure builds up in the housing and "blows" the seal. Replacing the seal without checking the pressure is like putting a new fuse in a shorted-circuited house.
-
Perform a Case Drain Test: Disconnect the return line (the small one) and run the motor into a bucket for one minute. If you see a massive flow of oil—more than 5% to 10% of the total intake—your motor’s internal parts are likely shot.
- Check the Filter: A clogged return filter creates backpressure. If that pressure hits 10 bar (145 psi), even a brand-new seal will pop right out of its seat.
Tools You’ll Actually Need
Don't try to "MacGyver" this with a flathead screwdriver. You’ll scratch the housing, and once there’s a scratch, it’ll leak forever.
- Quality Snap Ring Pliers: Industrial grade. Those cheap ones will just bend and frustrate you.
- Seal Pick or the "Screw Method" tools: A small drill and two sheet metal screws.
- Electrical Tape or a Plastic "Bullet": To protect the new seal from the sharp splines on the shaft.
- Vaseline or Clean Hydraulic Oil: For lubrication during assembly.
Step-by-Step: Removing the Old Seal
Step 1: Cleanliness is GodlinessI can't stress this enough. Clean the outside of the motor until you could eat off it. One grain of sand inside the motor can cause $5,000 in damage to the rotating group. Plug your ports as soon as the hoses are off.
Step 2: Remove the Retaining RingUse your pliers to remove the circlip. If the ring is bent or "bowed" outward, that’s a red flag that your case pressure was way too high.
Step 3: Extract the Seal (The "Screw Method")If the seal is stubborn, try this professional extraction method:
- Carefully drill two tiny holes in the metal face of the seal (180 degrees apart).
- Thread in two small screws.
- Use pliers to pull on the screws. This pulls the seal out straight without touching the shaft or the housing.
Evaluate the Shaft (The "Go/No-Go" Moment)
Take a close look at where the old seal was riding. Do you see a groove worn into the metal? Run your fingernail over it. If your nail catches in the groove, a new seal will not work.
If you have a groove, you have two choices:
- Replace the shaft: Expensive and time-consuming.
- The Speedi-Sleeve: This is a thin stainless steel sleeve that slides over the worn area to provide a perfect new surface. It’s a lifesaver.
Installing the New Seal: The Professional Way
This is where most people mess up. Follow these rules to ensure a dry shaft:
Direction Matters: Always install the seal with the open side (the side with the tiny metal spring) facing the oil. Think: "Spring in the Oil."
Protect the Lip: The splines on your shaft are like razor blades. Wrap electrical tape over the splines and the keyway before sliding the seal on. Better yet, use a plastic "bullet" tool if you have one.
The "Grease Dam": Fill the cavity between the main seal lip and the outer dust lip with high-quality grease. This prevents "dry start" wear before the hydraulic oil reaches the seal.
Use a socket or a piece of PVC pipe that matches the outer metal diameter of the seal. Gently tap it in. Never hit the rubber center of the seal; you’ll ruin the tension of the garter spring inside.
NBR or FKM? Know Your Rubber
When you order your seal kit, you’ll likely choose between two materials. Knowing the difference prevents premature failure based on operating conditions.
| Material Type | Temperature Range | Primary Advantage | Best Application |
|---|---|---|---|
| NBR (Nitrile / Buna-N) | -30°C to +100°C | Excellent low-temperature flexibility and tear resistance. | Standard hydraulic oil, cold weather, general outdoor use. |
| FKM (Viton / Fluorocarbon) | -15°C to +200°C | Outstanding heat and chemical resistance. | High-temp environments, synthetic fluids, heavy continuous duty. |
If you work in a freezing climate, stick with NBR. FKM can get hard as a rock at -20°C and will leak until the machine warms up.
Before you fire up the machine, fill the motor case with oil through the case drain port. If you start the motor "dry," the shaft seal and the internal bearings will burn up before the pump even has a chance to prime the system.